The Ultimate Guide to Creating a Chest Freezer Ice Bath at Home
Taking a dip in the icy water can provide significant recovery and health benefits. You can create this wellness retreat with a chest freezer, a few tools, and some practical steps.
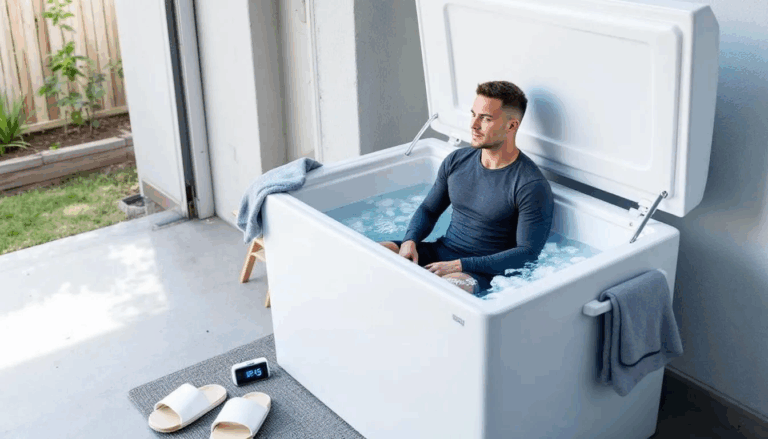
Imagine the invigorating chill of an ice bath, a form of cold water immersion therapy, right in the comfort of your own home. Taking a dip in the icy water can provide significant recovery and health benefits. You can create this wellness retreat with a chest freezer, a few tools, and some practical steps.
The DIY chest freezer method is a cheap and affordable alternative to purchasing an ice bath. Building your own setup allows you to tailor the experience to your preferences and needs. Start by selecting a freezer that’s the perfect fit for your space, ensuring it’s energy efficient and has a reliable thermostat. Waterproofing the interior with silicone and installing a temperature control system is essential to maintain a consistent cold water temperature. Keeping your DIY ice bath clean and regularly monitoring the water temperature are key factors too.
Let’s not forget about the ice bath community; their tips and support can greatly enhance your ice bath experience. If you’re ready to try this for yourself, follow the step by step guide below to build your own chest freezer ice bath. Ready to explore this exciting journey towards enhanced recovery and wellness? Let’s get started.
Key Takeaways
Choose a suitable chest freezer considering size, energy efficiency, condition etc. For full-body immersion, most chest freezers in the 350-400 litre range are recommended.
Gather essential supplies such as silicone sealant, thermometer, temperature control system and a drain plug. These can be found at your local hardware store or appliance store.
Follow the setup process, starting with cleaning and waterproofing the freezer, filling it with water, and installing temperature control.
Adhere to safety measures like regular temperature checks, unplugging before use, maintaining cleanliness, and inspecting for leaks.
Engage with ice bath communities for additional support, tips, and shared experiences in this wellness pursuit.
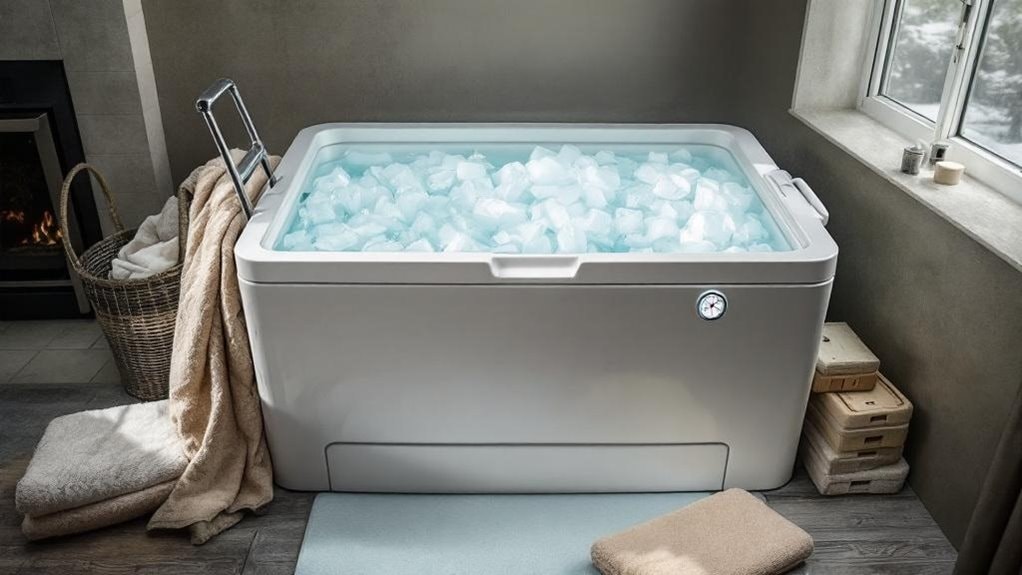
Choosing the Right Chest Freezer for Your Ice Bath
When it comes to building your own ice bath, choosing the right chest freezer is the first essential step. Not all chest freezers are created equal, and you’ve got to take into account size, energy efficiency, and temperature control options.
You might find a bargain if you’re willing to go second hand, but make sure it’s in good condition.
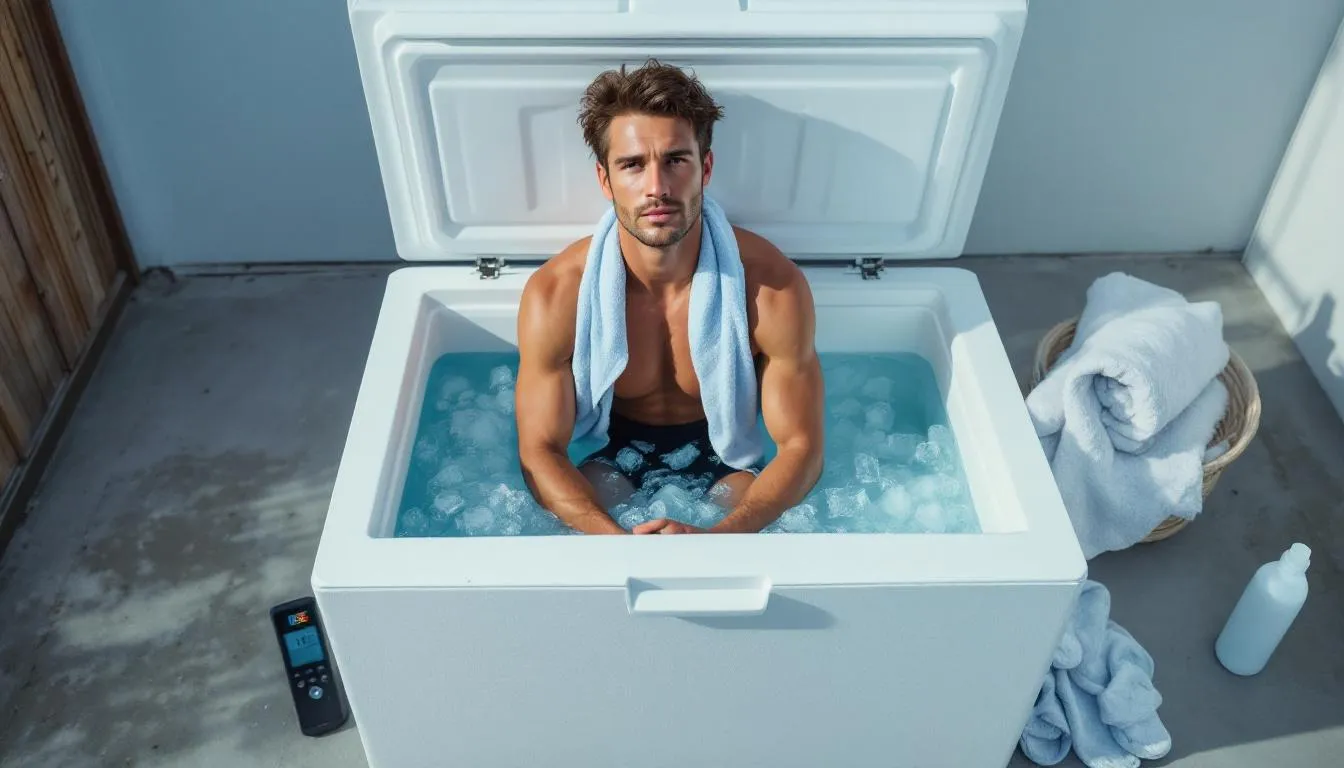
Also, take into account the size – you’ll need it to be deep enough to submerge yourself but small enough to fit in your space. To figure out if a freezer is large enough for your body, measure your height and shoulder width, then compare those to the internal dimensions of the freezer. If possible, sit inside the freezer before purchasing to ensure it’s comfortable and practical for full-body immersion. Remember, it’s not just about finding a freezer; it’s about finding the right freezer for your needs. Like other household appliances, chest freezers require careful consideration of safety and space requirements in your home.
Essential Tools and Supplies for Building Your Ice Bath
Now that you’ve chosen your ideal chest freezer, let’s move on to gathering the necessary tools and supplies for building your ice bath.
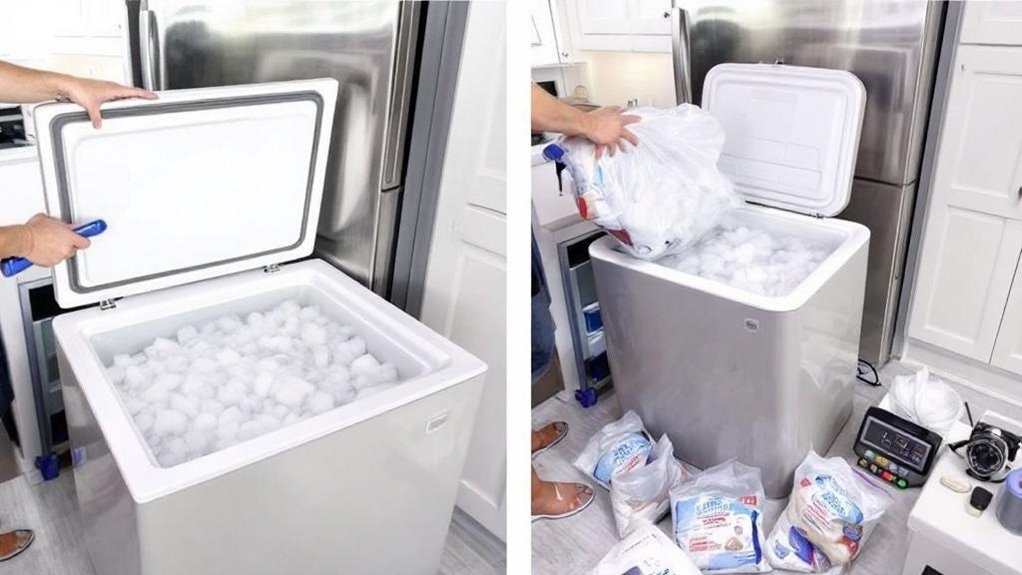
Before you start, make sure to give your chest freezer a good clean to ensure it’s safe and hygienic for use.
First up, you’ll need DIY supplies like a silicone sealant to waterproof the interior of your chest freezer. A thermometer is also essential to monitor and adjust the water temperature.
Kickstart your DIY ice bath project with essentials like a silicone sealant for waterproofing and a thermometer for precise temperature control.
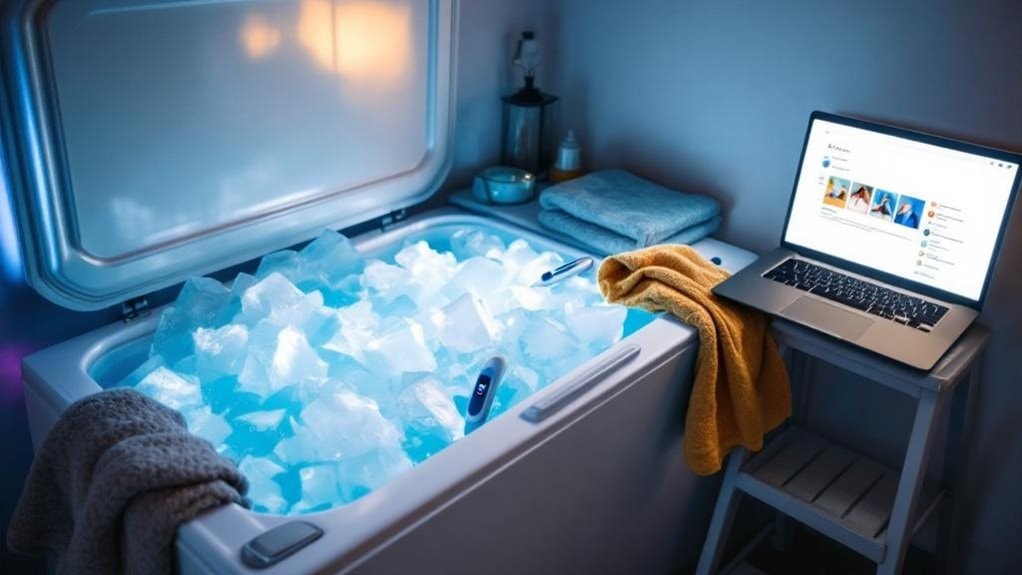
The most important piece of equipment is a reliable temperature control system. This device will help maintain a consistent water temperature, enhancing the effectiveness of your chest freezer ice bath.
Don’t forget a plug timer to manage power consumption and a good quality drain plug for easy water changes.
Gathering these essentials beforehand will make the setup process smoother and guarantee your ice bath is safe and efficient.
Step-by-Step Process to Set Up Your Chest Freezer Ice Bath
To set up your chest freezer ice bath, let’s walk through a seven-step process.
First, clean your chest freezer thoroughly.
Then, seal all cracks, corners, edges, and walls with silicone to make it waterproof. Make sure to apply the sealant carefully to every corner and along the top edge. After sealing, wait for the sealant to cure and let it sat for the recommended time (at least 48 hours, ideally a week) before proceeding. Ensure this step is complete and that all necessary actions happen as planned.
Next, fill the freezer with water to create your ice water bath, leaving about a 5% space at the top. Make sure the water does not freeze solid. After filling, check for any leaking and confirm that no water has leaked from the freezer.
Now, install the temperature control system.
Consider installing a drain hole for easy water change.
Finally, always monitor the freezer’s temperature to guarantee consistency.
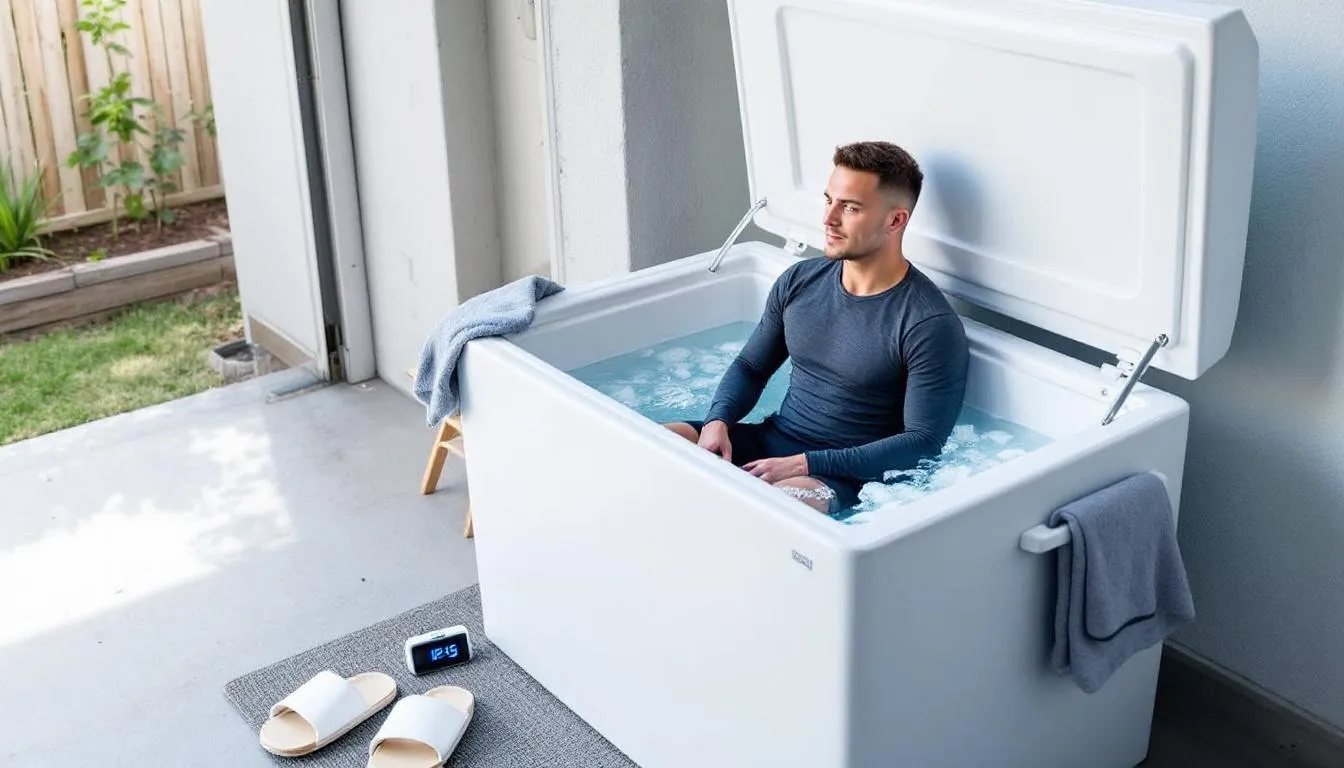
Using and Maintaining Your DIY Ice Bath Safely
Although setting up your DIY ice bath requires effort, maintaining it properly guarantees its longevity and your safety. You should be vigilant about using and maintaining the temperature control system to guarantee a safe experience.
Here’s what you should do:
Regularly monitor the water temperature with a thermometer. Adjust the temperature control system as needed to maintain a consistent temperature. Allow at least 4-6 hours for the water to cool down to your target temperature after refilling.
Unplug the freezer before each use. This isn’t just about saving electricity; it’s a vital safety measure.
Keep your ice bath clean. Regularly scrub the walls and floor to prevent the buildup of debris and bacteria. You may choose not to use chlorine or other chemical disinfectants, but regular cleaning is essential for water sanitation.
Change the water every week or every other week to prevent debris buildup and unpleasant odours.
Notice any changes in water clarity, temperature, or if you detect a smell, such as a ham-like odour, which can indicate the need for cleaning or water replacement.
Always check for leaks. Early detection and repair will extend the life of your DIY ice bath.
Connecting With the Ice Bath Community for Tips and Support
While you have your DIY ice bath up and running, don’t forget to get involved in the ice bath community.
This network of enthusiasts is a goldmine of tips, tricks, and mutual support. You’ll find people who’ve been reaping the health benefits of DIY ice baths and cold plunges for years, ready to share their experiences and advice.
Look for groups on platforms like Facebook or Reddit, where you can talk with others about your setup, ask questions, share your own progress, and learn more about the science behind the benefits of ice baths. Many members also share helpful videos and tutorials online, providing step-by-step visual guidance for building and using your ice bath.
Not only will you gain practical knowledge, but you’ll also find camaraderie in the shared pursuit of wellness.
Frequently Asked Questions
FAQ: Are there any health risks with using a DIY freezer ice bath?
Yes, there are some health risks to be aware of. Always consult your doctor before starting any new cold therapy form, especially if you have underlying health conditions. Never submerge your head in the ice bath, as this can increase the risk of suffocation and cold shock. Always monitor water temperature and limit your exposure time to avoid hypothermia. Use the ice bath safely and responsibly.
Can I Add Ice to the Water in the Chest Freezer?
Yes, you can add ice to the water in your chest freezer. However, it’s not necessary. Your freezer will maintain the desired cold temperature, making the addition of ice redundant and potentially straining its system.
What Are the Health Risks Associated With Using Ice Baths?
While ice baths can boost recovery, they also pose risks. You might experience hypothermia or frostbite if you’re not careful. Always monitor your body’s reactions and limit your time in the bath to avoid risks.
Can I Use a Salt Solution to Keep the Water From Freezing?
Using a salt solution can prevent your water from freezing. Mix salt into your bath until it dissolves. This lowers the freezing point, keeping your water chilled but not solid. Always monitor the temperature, though.
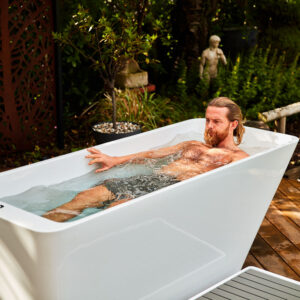
How Long Should I Stay in the Ice Bath for Optimal Benefits?
You should aim for 10 to 15 minutes in your ice bath. Start with shorter periods and increase gradually. Remember, it’s about consistency rather than duration. Always listen to your body and don’t overdo it.
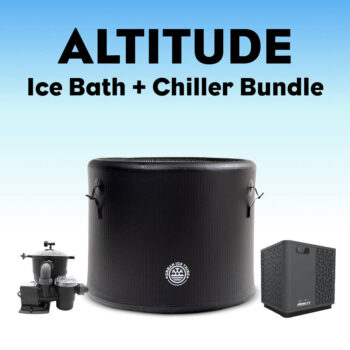
Are There Alternatives to Chest Freezers for Creating a DIY Ice Bath?
Yes, alternatives to chest freezers for DIY ice baths include our range of galvanised stock tanks or inflatable ice baths, as well as our premium ice baths.
Summary
And there you have it! You’re now equipped to create your own chest freezer ice bath at home. Remember, the right freezer, a reliable temperature control system, and regular maintenance are essential. Immerse yourself in this invigorating wellness routine, and don’t forget to connect with the ice bath community for invaluable advice and motivation. It’s no coincidence that this DIY project could be the key to enhancing your recovery and wellness journey. Happy chilling!
How often should you take ice baths? This guide explores safe frequency guidelines for beginners and regular users, helping you build a sustainable cold exposure routine without overdoing it.
Ice baths aren’t suitable for everyone. This guide explains key ice bath safety considerations, potential risks, and who should be cautious or seek advice before starting cold plunges.
Curious about ice baths but not sure where to start? This beginner’s guide covers the benefits, risks, and best practices, with clear safety advice, temperature ranges, and step-by-step guidance.