How to Set Up Your Urban Ice Tribe Steel Ice Bath: A Complete Step-by-Step Guide
Discover how to set up and care for your Urban Ice Tribe Steel Ice Bath. This detailed guide walks you through every stage — from choosing the right location and operating the chiller to mastering your first cold plunge. Build resilience, clarity, and calm through the ritual of cold-water immersion.
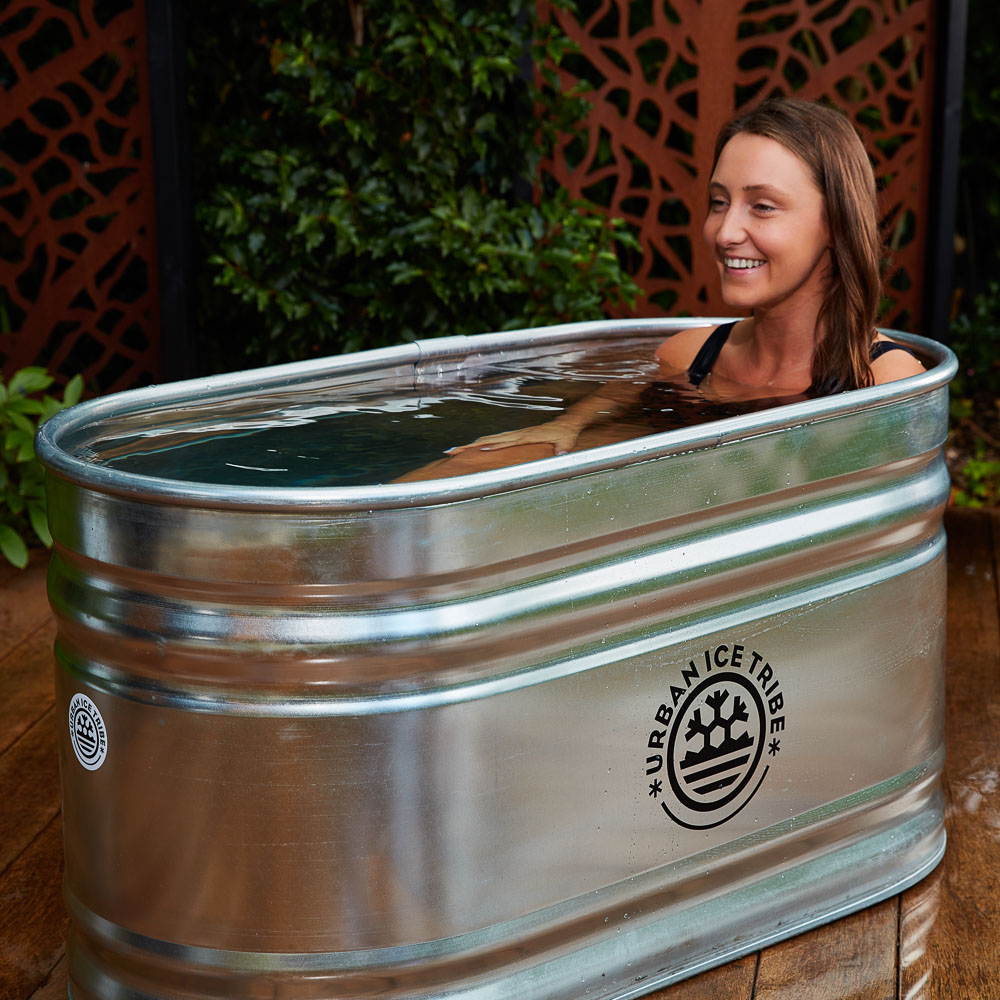
There’s a calm strength that comes with cold. The moment you lower yourself into clear, still water, the world quiets and focus takes over. That’s the experience the Urban Ice Tribe Steel Ice Bath is designed to deliver, premium engineering created for ritual, recovery, and resilience.
Whether you’re installing your ice bath for the first time or refining your setup for optimal performance, this guide walks you through every stage, from placement and setup to daily operation and care. It’s practical, safe, and easy to follow, helping you make cold-water therapy a simple and consistent part of your wellness routine.
What’s Included
Your Urban Ice Tribe Ice Bath system arrives with everything you need for seamless setup and efficient operation. Before you begin, unpack and confirm you have all the components:
Steel Ice Bath unit
Chiller unit
Pump and filter system
Hoses and fittings
Electrical connections and weatherproof switch
Rubber feet and mounting hardware
Each part is built for durability, insulation, and performance. If anything is missing or damaged, contact the Urban Ice Tribe support team before beginning installation.
Choosing the Right Location
Your ice bath performs best when placed on a stable, level surface with good airflow and easy access to power. Correct positioning ensures safety and helps the system run efficiently.
Key placement tips:
Keep all electrical components at least three metres away from the bath.
Position electrics above water level and use only weatherproof, hardwired commercial switches.
Allow clear airflow around the chiller; never enclose or obstruct it.
If possible, bolt the chiller down using the provided rubber feet to reduce vibration and improve stability.
Lifestyle tip: Choose a spot that feels calm and connected to your surroundings, perhaps under open sky, beside a garden, or near your sauna if you’re combining heat and cold therapy. The environment becomes part of the ritual.
Step-by-Step Setup Guide
Follow these simple steps to set up your Urban Ice Tribe Ice Bath and prepare it for daily use.
Step 1: Power and Placement
Start with the essentials.
Ensure all electrical connections comply with safety regulations and are positioned at least three metres from the bath.
Use a fully weatherproof, hardwired switch for both the pump and the chiller.
Place the chiller on firm, level ground where it has full airflow.
In warmer months, light shading can help with performance, but the unit should never be fully covered or enclosed.
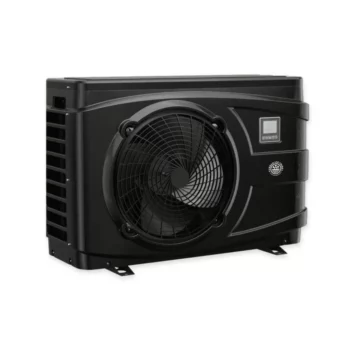
Step 2: Unlocking and Using the Chiller Unit
The chiller is the control centre of your system. Follow these steps to unlock and prepare it for use:
Unlock the screen by holding the power button for about ten seconds until the lock symbol disappears.
Turn on the chiller by holding the power button again for two seconds.
Select your mode:
❄ = Chill Mode (for ice baths)
▲ = Auto Mode
☀ = Heat Mode (optional warming)
Set your temperature:
Tap the up or down arrows to adjust.
The left number shows your target temperature, while the right number shows the current water temperature.
Change modes by holding the up arrow to cycle through ❄ → ▲ → ☀.
Once the chiller is active, it will automatically maintain your selected temperature, switching the fan on and off as needed.
Step 3: Filling the Bath
Fill your bath with clean, potable water until it reaches about 60–70% capacity.
If your setup includes a skimmer, fill to the recommended line marked on the tank.
Without a skimmer, maintain a consistent level so the water flows smoothly through the pump and filtration system.
Ensure all hoses are tightly connected and the circulation path is clear before switching on the pump.
Step 4: Backwash Procedure (for Filtered Systems)
Regular backwashing keeps your system clean and working efficiently. Important: The pump must always be turned off before adjusting any valve.
To perform a backwash:
Turn the pump off.
Rotate the multi-port valve to Backwash.
Turn the pump on and run it for two to three minutes until the drain water runs clear.
Turn the pump off, switch the valve to Rinse, then on again for one minute.
Turn off, return the valve to Filter, then resume normal use.
If your setup includes a skimmer, close it before backwashing to ensure proper drainage from the lower connectors.
This process removes debris and buildup from the filter media, keeping your water clear and your system running smoothly.
Step 5: Cooling and Operation
Once the system is filled and running:
Set your target temperature on the chiller, usually between 2°C and 10°C.
Allow the unit to cool the water; the fan will stop automatically once the desired temperature is reached.
Check that the water is clean, cold, and circulating evenly.
Your ice bath is now ready for use.
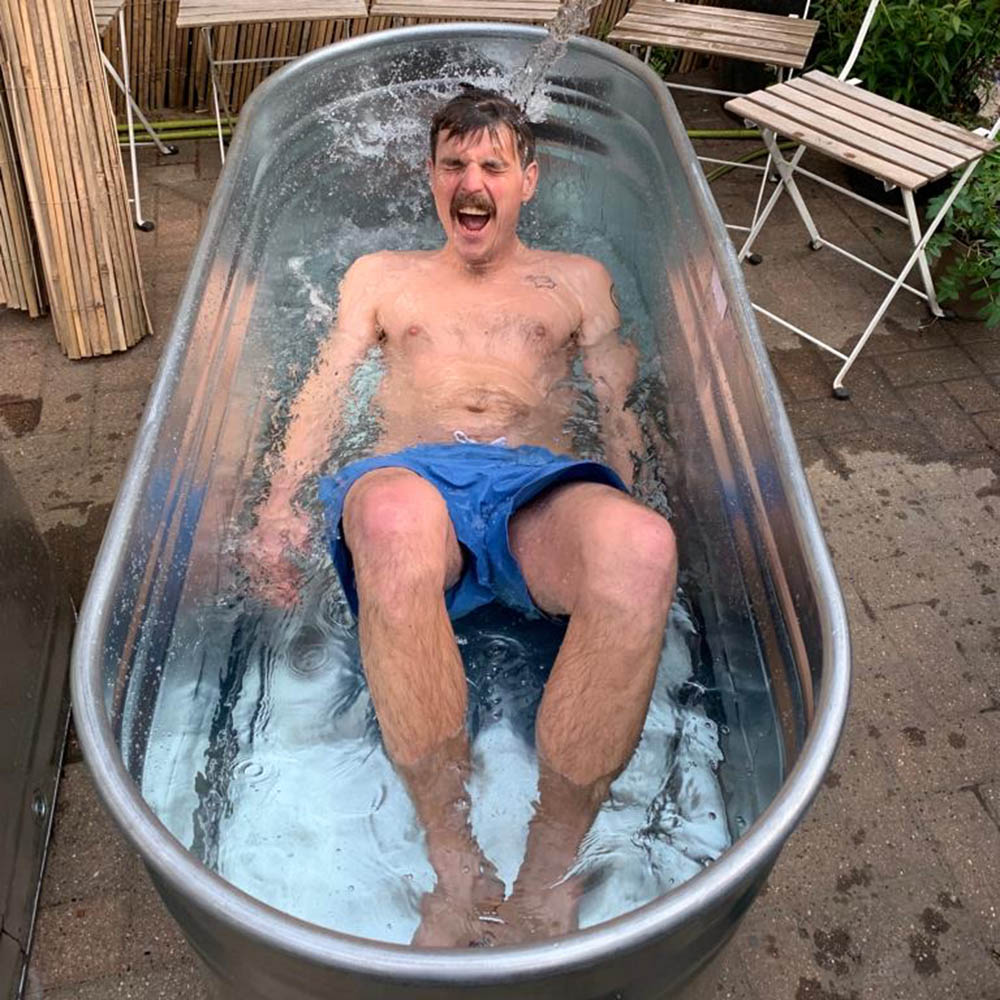
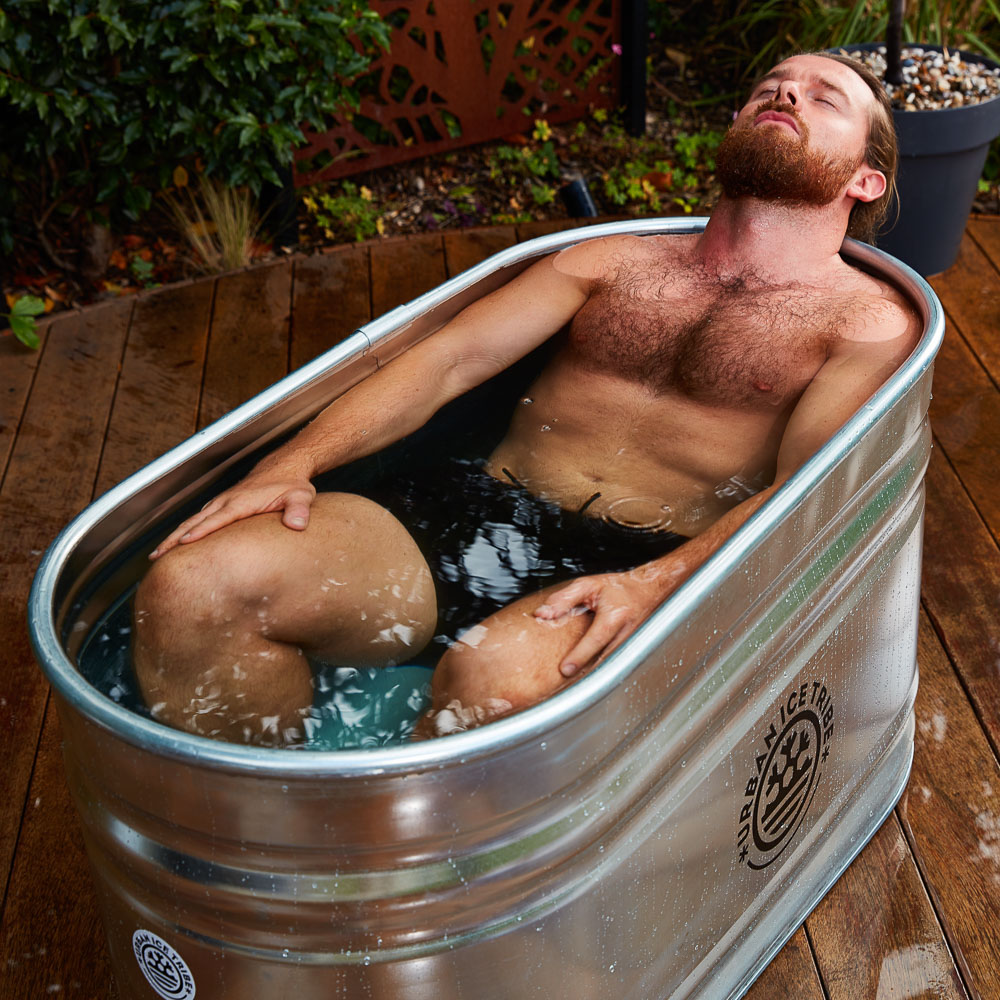
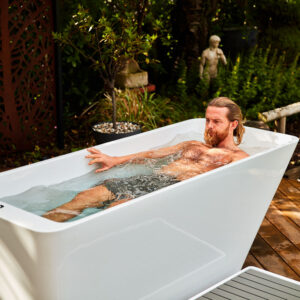
Using Your Ice Bath
Your first plunge is often the most memorable. Take it slowly, breathe deeply, and focus on control rather than endurance.
Best practices for first use:
Start with one to two minutes of immersion, increasing gradually as your tolerance builds.
Focus on steady, rhythmic breathing to help your body relax.
The chiller maintains a consistent temperature automatically, so there’s no need to adjust during your session.
For the ultimate experience, combine your ice bath with heat therapy, alternating between sauna and cold immersion enhances recovery and mental clarity.
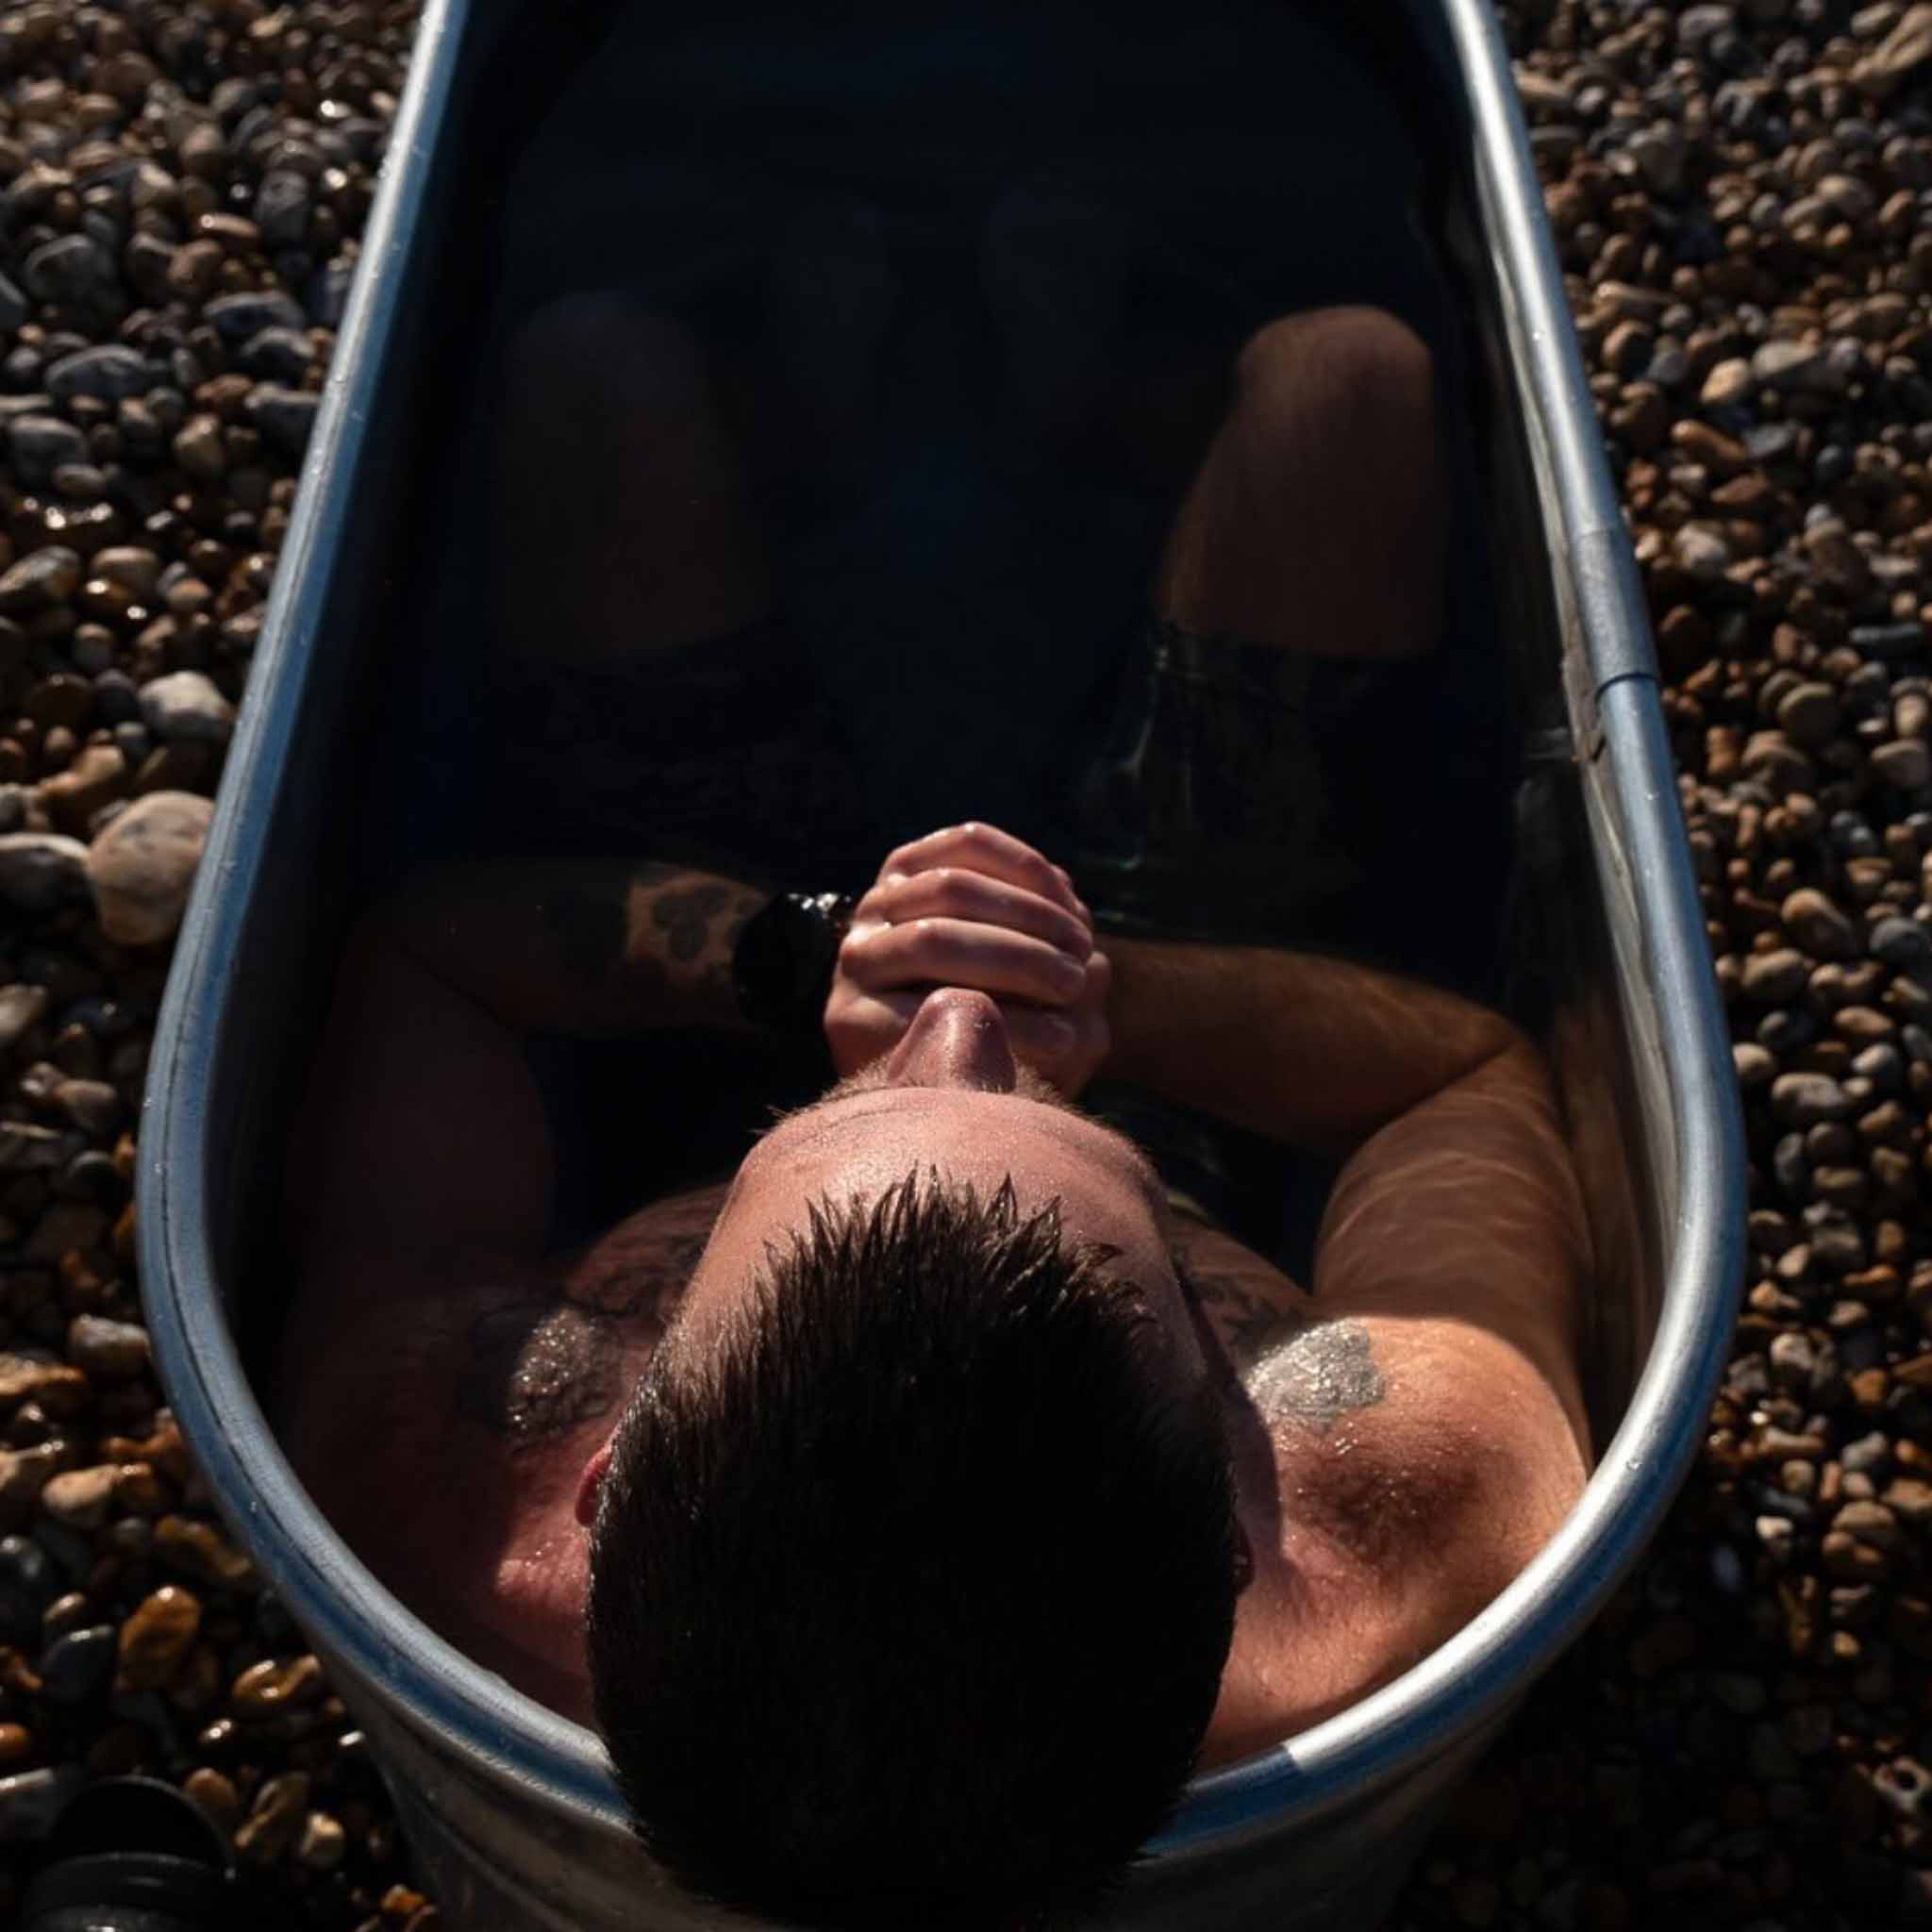
Each plunge is a reset, a moment to reconnect with yourself through stillness and focus.
Maintenance and Care
Consistent care ensures your Urban Ice Tribe Ice Bath continues performing at its best.
Regular Maintenance Checklist:
Backwash daily to weekly depending on frequency of use and water clarity.
Keep all electrics dry and at least three metres from the bath.
Maintain clear airflow around the chiller at all times.
Clean the bath with mild soap and a soft cloth; avoid abrasive chemicals.
Drain and refresh the water regularly to maintain hygiene.
Record temperature readings and maintenance activities to track performance.
For detailed hygiene advice, see the Urban Ice Tribe Water Maintenance Guide, which complements this setup process perfectly.
Safety Notes and Troubleshooting
Your safety is the top priority. The Urban Ice Tribe Ice Bath is designed for durability and reliability, but following these simple guidelines will protect both you and your equipment.
Essential Safety Points:
Never adjust valves while the pump is running.
Ensure all electrical outlets and switches are weatherproof and protected from moisture.
Follow current electrical safety regulations for all wiring and installation.
Consult a qualified electrician if you’re installing the system permanently.
Common Troubleshooting Tips:
Chiller not cooling: Check power supply, mode setting (❄), and ensure airflow around the unit.
Low water flow: Perform a backwash or inspect hose connections for blockages.
Water not circulating: Confirm the pump is switched on and all valves are correctly aligned.
If you experience any ongoing issues, contact Urban Ice Tribe’s technical support team for assistance.
A Ritual of Clarity
Once you’ve mastered your setup, the process itself becomes a ritual. Filling, cleaning, and stepping into cold water becomes less of a task and more of a practice, one that cultivates presence, strength, and calm.
Your ice bath is more than a piece of equipment; it’s a space for stillness and renewal, where the cold invites clarity and resilience.
How often should you take ice baths? This guide explores safe frequency guidelines for beginners and regular users, helping you build a sustainable cold exposure routine without overdoing it.
Ice baths aren’t suitable for everyone. This guide explains key ice bath safety considerations, potential risks, and who should be cautious or seek advice before starting cold plunges.
Curious about ice baths but not sure where to start? This beginner’s guide covers the benefits, risks, and best practices, with clear safety advice, temperature ranges, and step-by-step guidance.